How to Set Up Time Machine Backup on TrueNAS: A Beginner's Guide
Discover how to effortlessly set up Time Machine backups on TrueNAS with this beginner-friendly guide!
LATESTNASBACKUP
Subhasis Bose
5/1/20242 min read
Are you ready to harness the power of your NAS server for seamless Time Machine backups? If you're new to network-attached storage (NAS) like me, don't worry! Setting up a dedicated 500 GB share for Time Machine backups on TrueNAS is easier than you might think. Let's walk through the process together:
Step 1: Creating a User
First things first, let's create a user for our Time Machine share. Log into your TrueNAS UI and head over to the Credentials tab. Click on "Add" and fill in the required details. It's that simple!
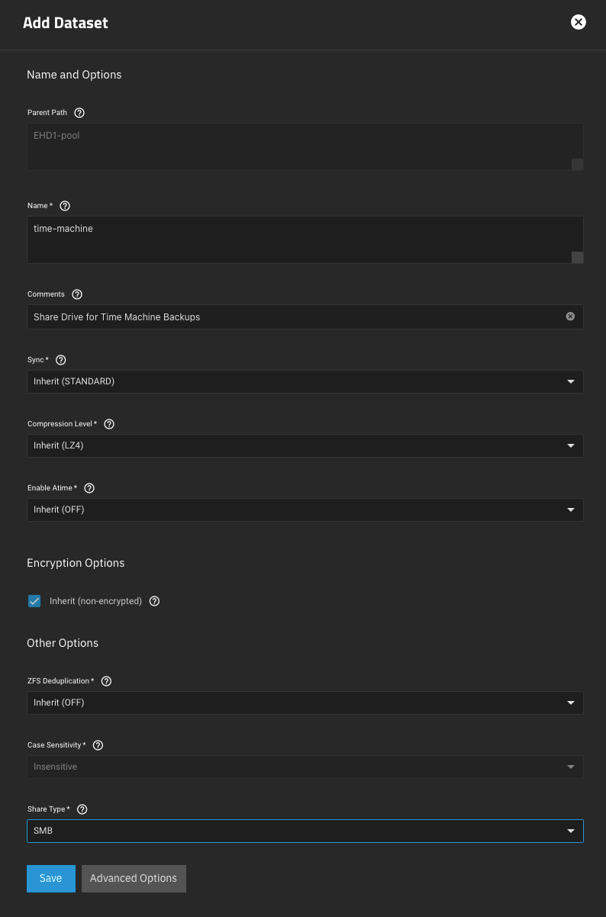
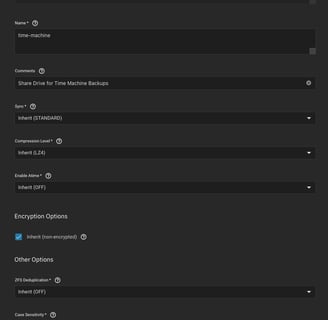
Step 2: Creating a Dataset
Next up, we need to set up a dataset. Navigate to the Datasets option and click on "Add Dataset." Make sure to set the share type as SMB and input any additional details you'd like. Don't forget to set the maximum quota for your share to 500 GB to keep things organised.
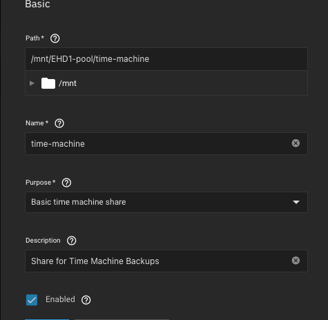
Step 3: Creating the Share
Now, let's create the actual share for Time Machine backups. Go to the Shares section and click on "Add" for Windows (SMB) Shares. Fill in the necessary details, making sure to select "Basic time machine share" as the purpose. Feel free to explore advanced options, but don't worry if you're unsure – you can always come back to them later!

Step 4: Configuring SMB Service
To ensure everything runs smoothly, let's verify that the Apple SMB2/3 Protocol Extension is enabled. Head over to the SMB service page, open advanced settings, save your changes, and restart the service. Easy peasy!
Step 6: Configuring Time Machine Backup
Last but not least, let's configure Time Machine on your laptop. Open Settings, search for Time Machine, and select the option to configure your disk. Your Time Machine share should show up automatically – just follow the prompts to set it up, and let Time Machine handle the rest!
Conclusion
And there you have it – your very own Time Machine backup setup on TrueNAS! The process may seem daunting at first, but with TrueNAS's helpful documentation and a bit of patience, it's a breeze. Don't hesitate to explore more advanced options and features as you become more comfortable with your NAS. And remember, if you ever need a helping hand, the TrueNAS community is always here to support you.
Happy backing up, and here's to keeping your data safe and sound!
TrueNAS Documentation: Setting Up Time Machine Share on SMB