Setting Up and Installing Proxmox VE: A Comprehensive Guide
Proxmox VE (Virtual Environment) is an open-source server virtualization management platform that simplifies the management of virtual machines, containers, and software-defined storage. This guide will walk you through the steps to set up and install Proxmox on your server.
LATESTHOMELAB PROJECTS
Subhasis Bose
6/7/20244 min read
Table of Contents
Used Hardware
Steps to Install Proxmox
Post Installation
Used Hardware
Starting with a modest setup, here are the specifications of the system on which I installed Proxmox:
CPU: 32 x Intel(R) Xeon(R) CPU E5-4640 0 @ 2.40GHz (2 Sockets)
Total Memory: 96 GB
Storage:
225 GiB Internal SSD for OS
2 TB Internal HDD for VM and data storage
Network: 1 GB NIC onboard
Steps to Install Proxmox
Download Proxmox VE
Visit the Proxmox VE download page and download the latest ISO image. For this guide, I used Proxmox VE 8.2 ISO.
Download Proxmox VE
Use a tool like Etcher to create a bootable USB drive with the Proxmox ISO image.
Boot from USB
Insert the USB drive into the server and boot from it. Ensure your BIOS/UEFI settings are configured to boot from USB if necessary.
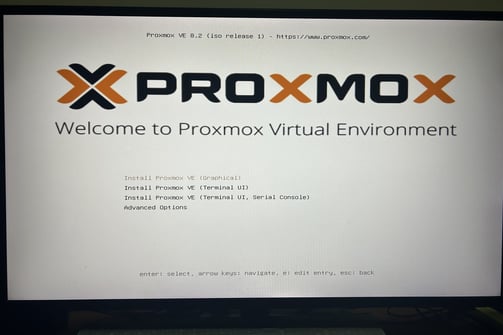
Install Proxmox
Graphical Installation: Select "Install Proxmox VE" and proceed with the graphical installation.
User Agreement: Accept the user agreement.
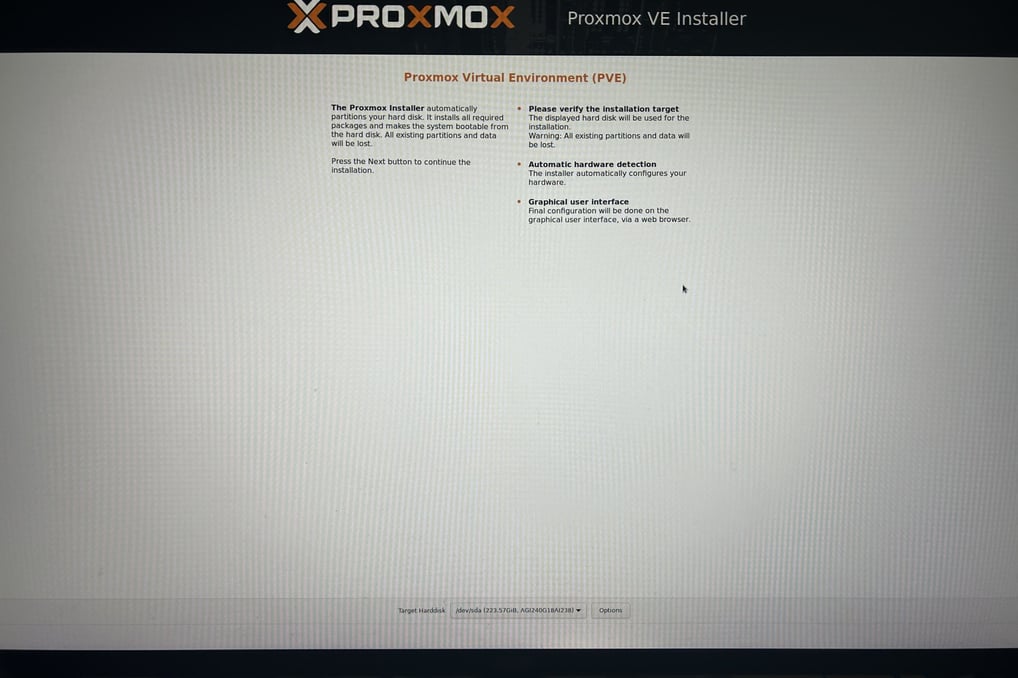
Select Target Hard Drive: Choose the 225 GiB SSD (/dev/sda) for installation.
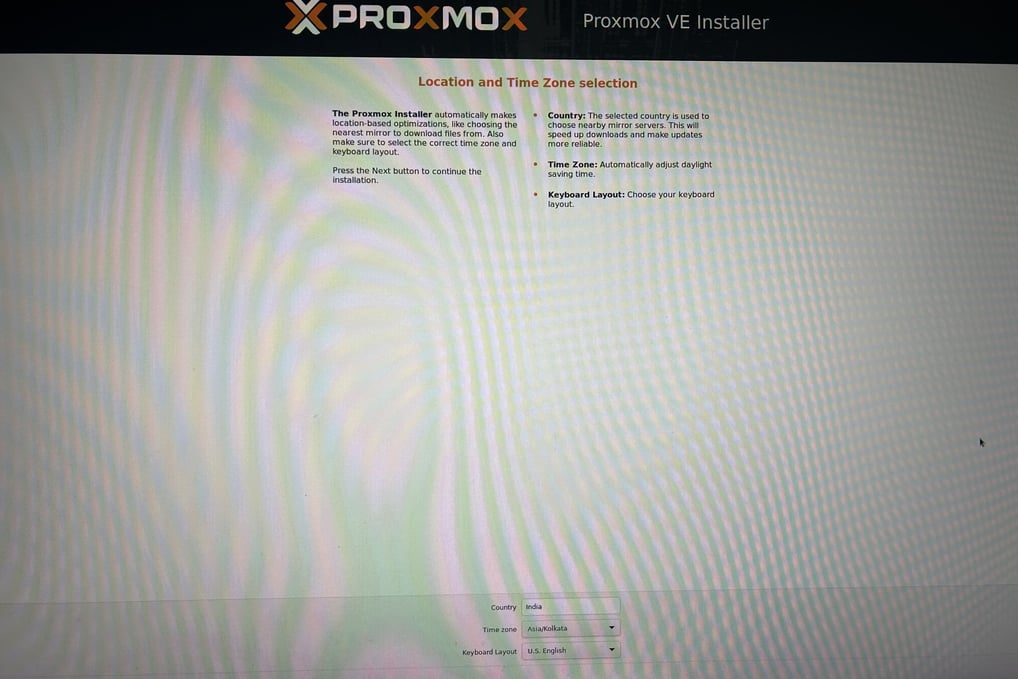
Configure Region Settings: Select your country, time zone, and keyboard layout.
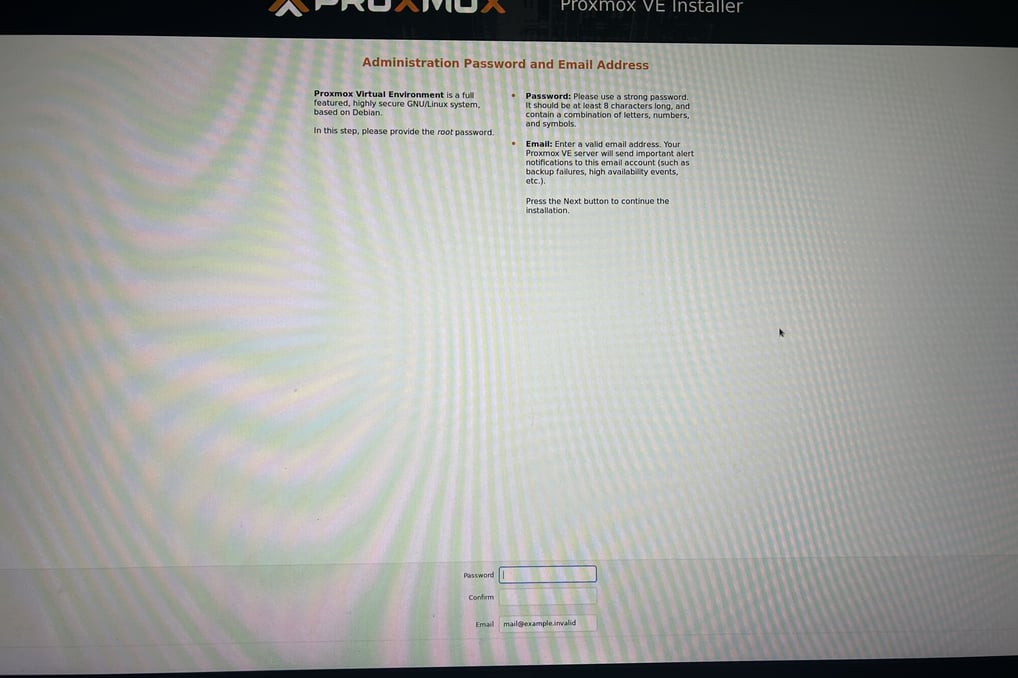
Set Root Password and Email: Enter a strong password for the root user and provide an email address.
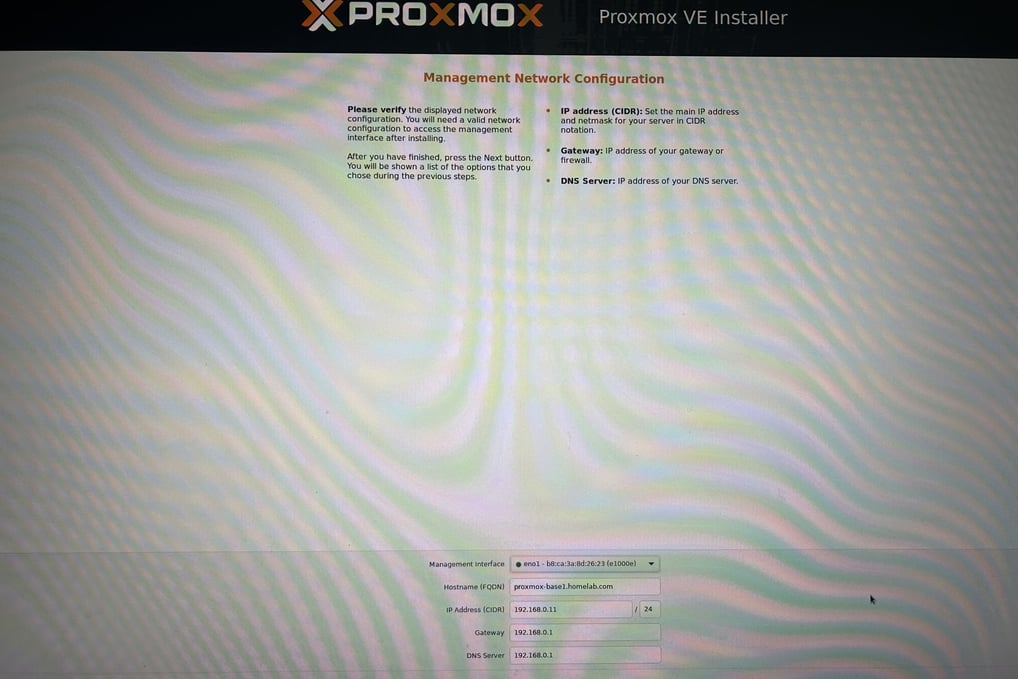
Network Configuration: Configure the network settings. For a single NIC setup, this is straightforward.
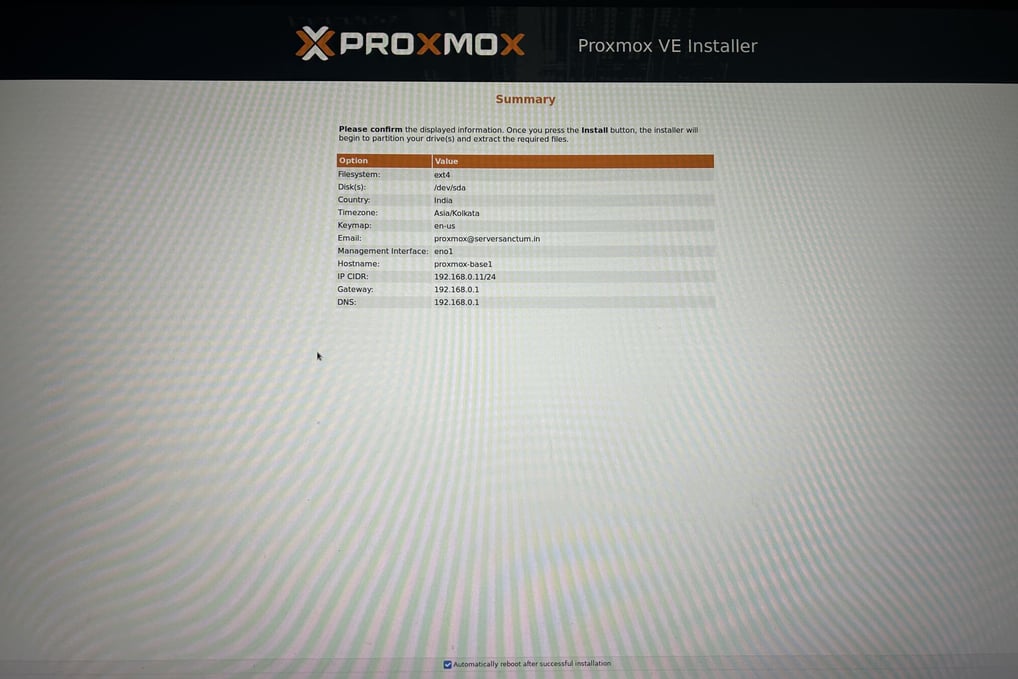
Review and Install: Review your configuration and click "Install" to begin the installation process.
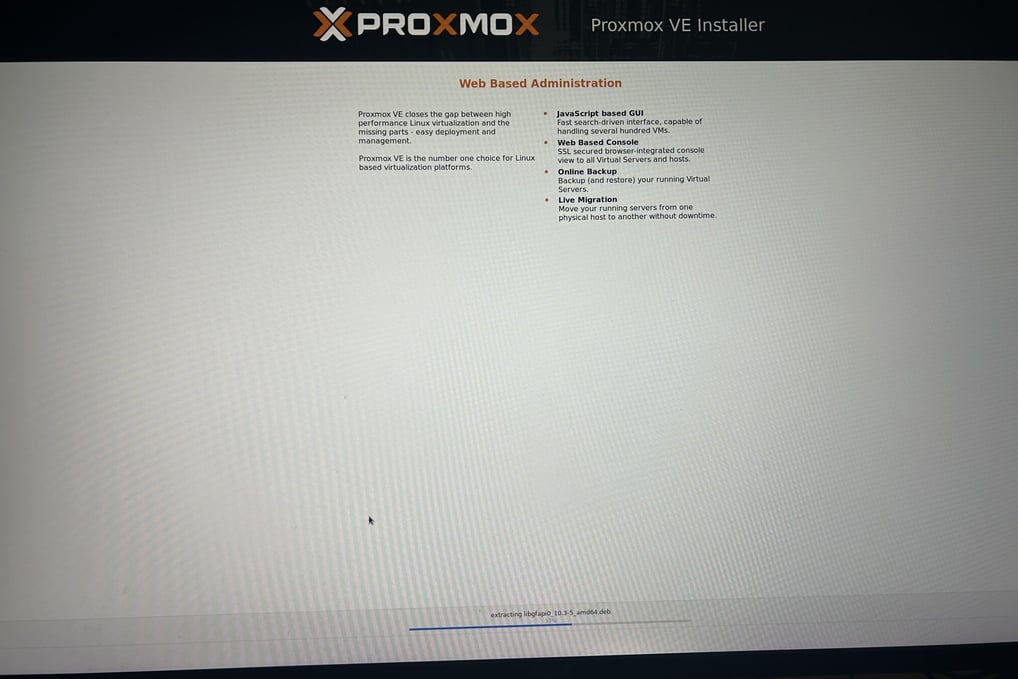
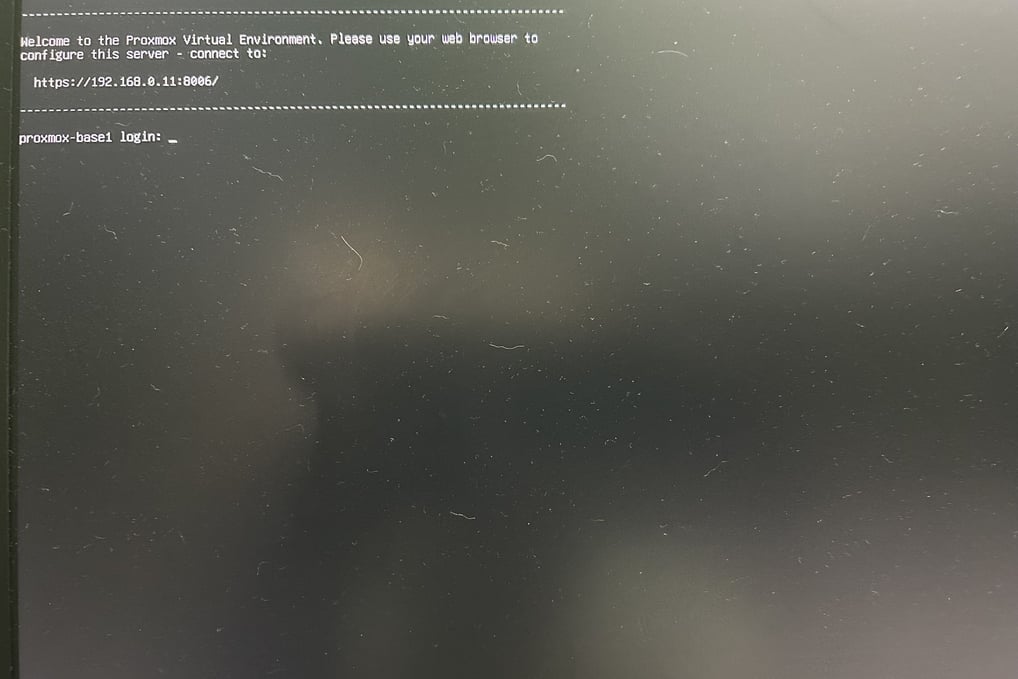
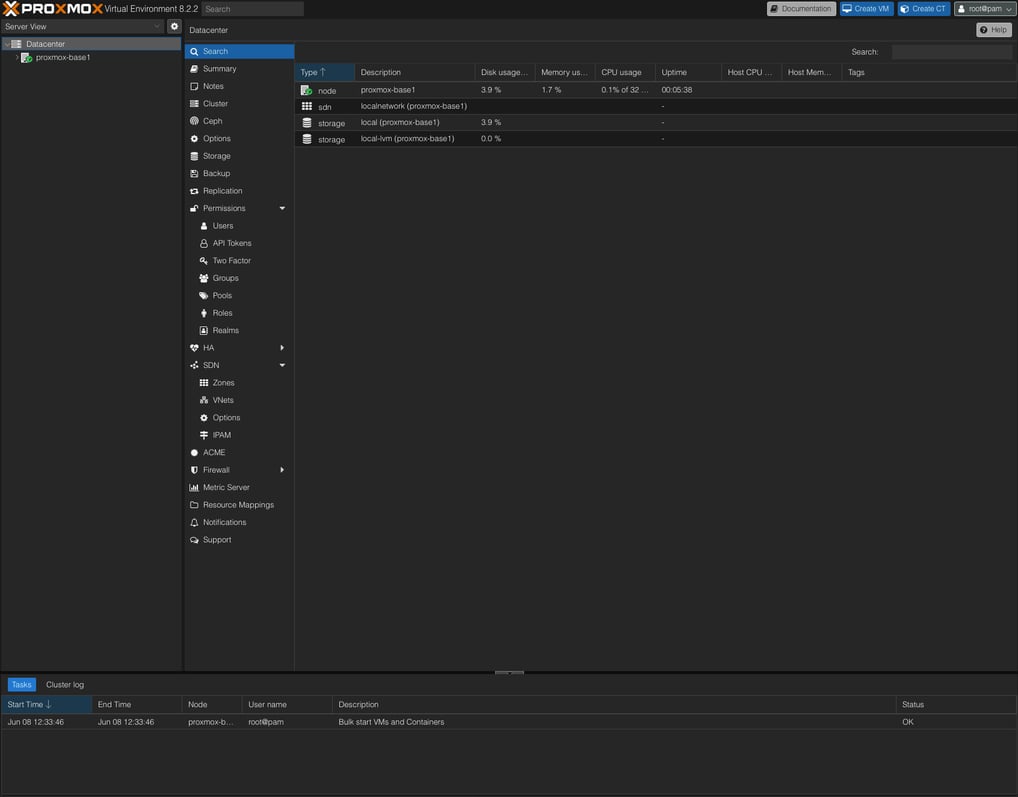
Completion: Once the installation is complete, the system will reboot into Proxmox VE. Access the web interface using the provided local URL.
Going to URL provided, you will be asked for a login ID. Default user will be `root` and password would be what you provided in the setup process. Logging in and you should have a screen like this:
Post Installation
Post the installation of Proxmox, we can have multiple things we would like to configure to make the setup work for us.
Setting Up Secondary Data Disk
I prefer to use the larger internal HDD for VM and container storage while keeping the SSD for OS and template storage. Here’s how to configure this:
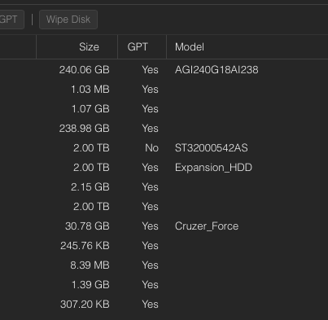
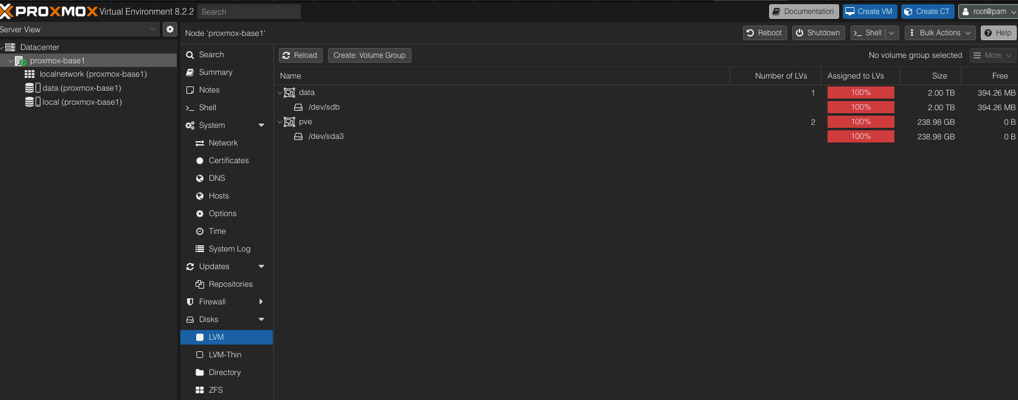
Current Disk Setup:
Proxmox uses the SSD to create two partitions:
local: For templates and ISOs
local-lvm: For VMs and LXCs

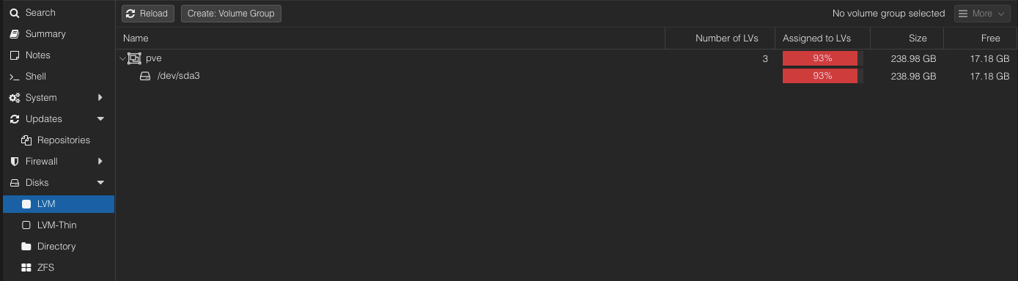
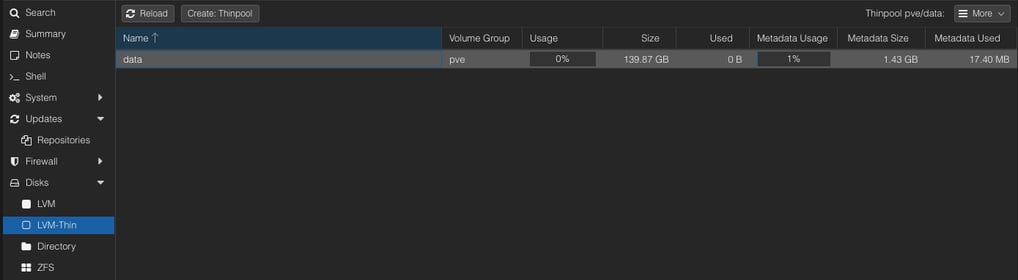
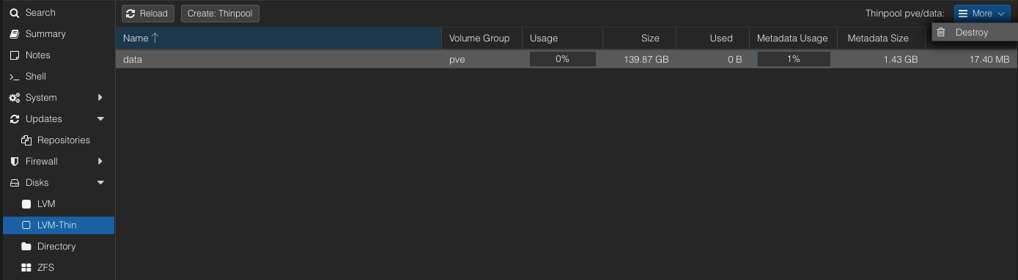
Modify LVM Setup:
Delete the LVM data on the SSD to free up space for expansion.
Use the UI to destroy the LVM.

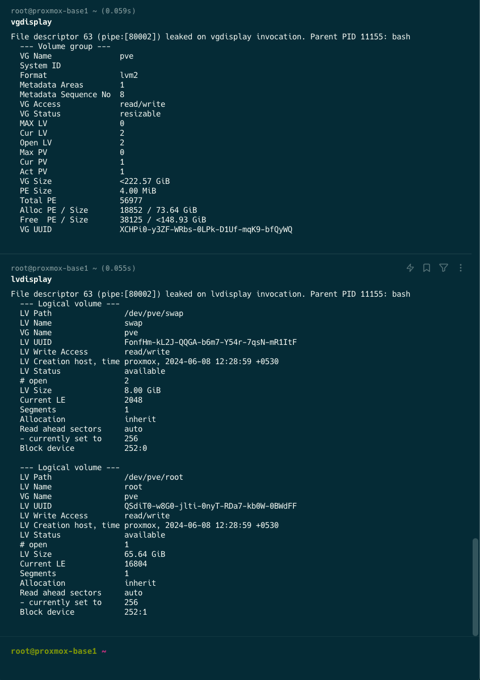
Expand the pve VG
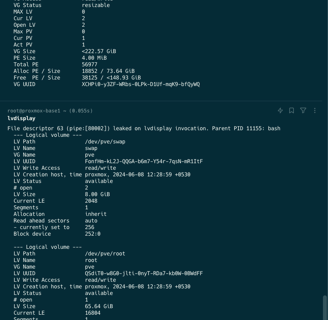
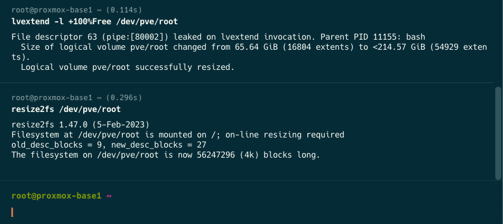
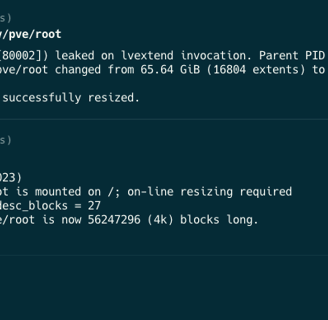
Use SSH to extend the LV and resize the filesystem:
lvextend -l +100%Free /dev/pve/root
resize2fs /dev/pve/root
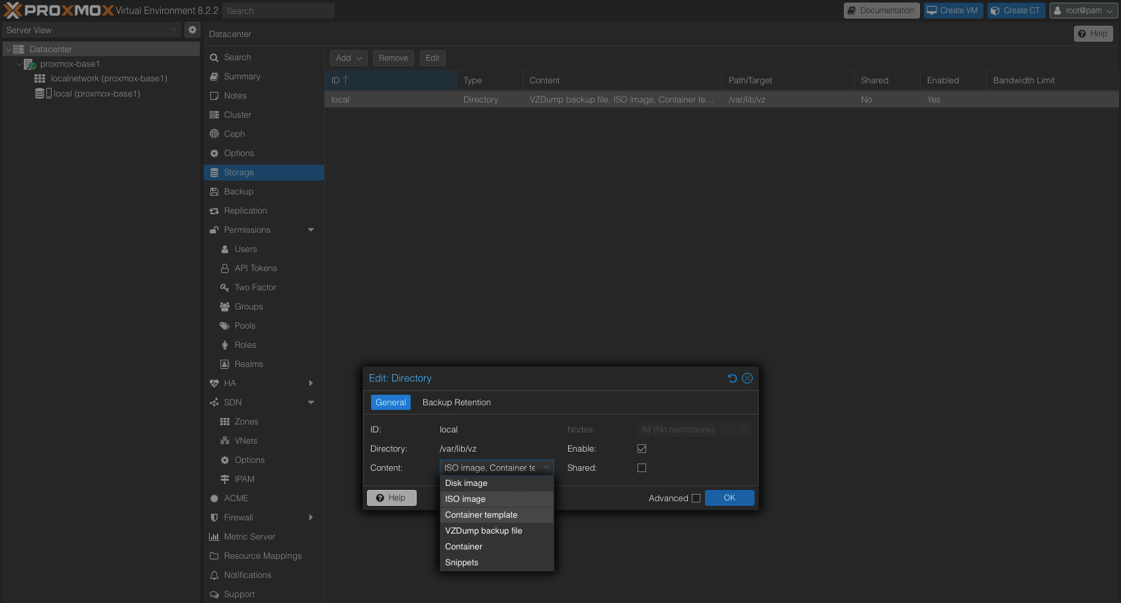
Edit Storage Directory:
Configure the local directory to store only ISO images and container templates.
Create New VG for VMs:
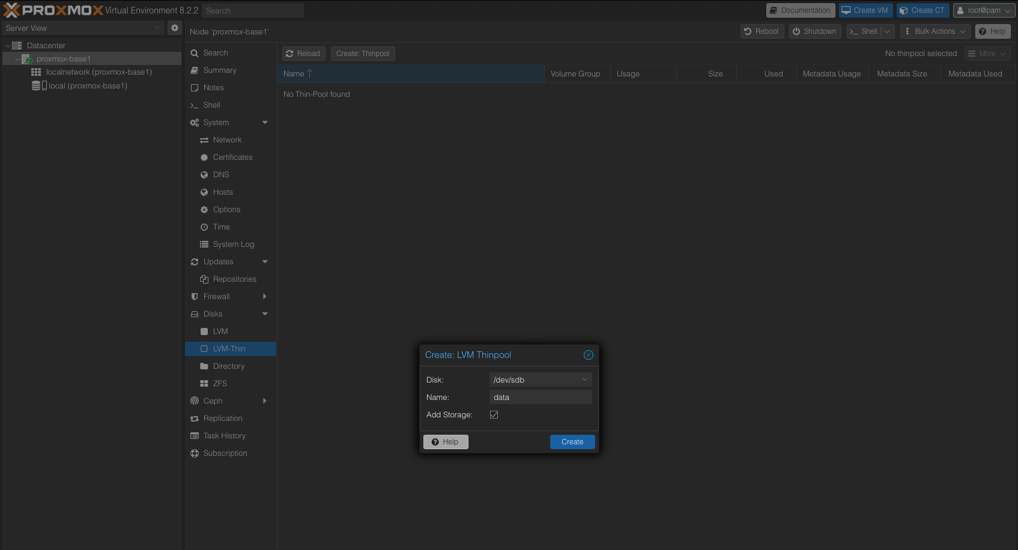
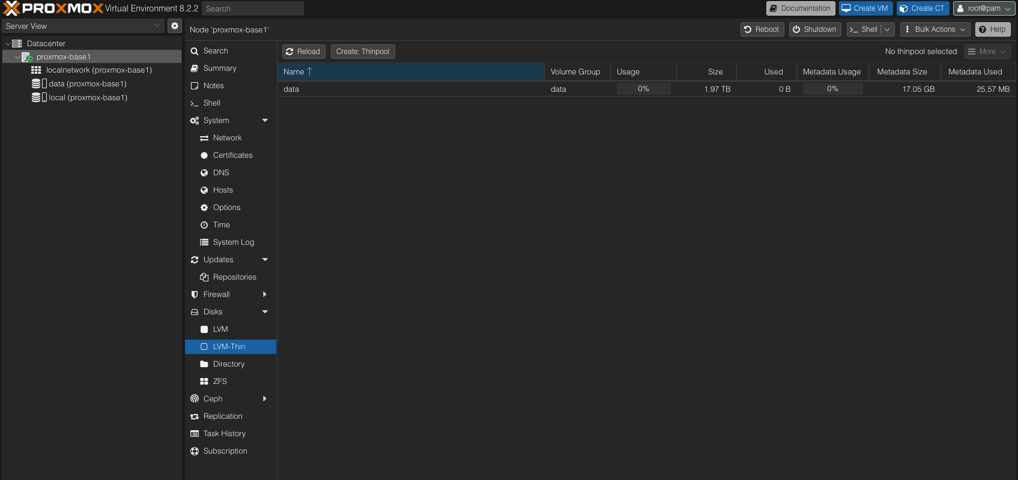
Verify the new setup
Final Storage Layout
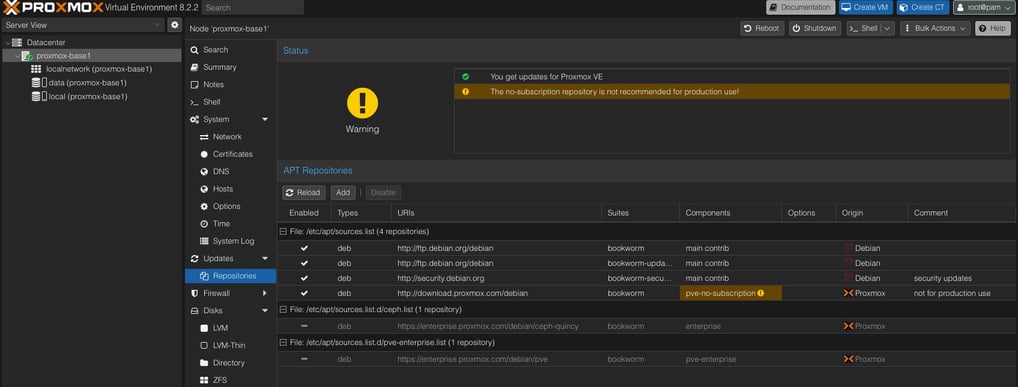
Disable Enterprise Repo and Enable Community Repo
Since I do not have a subscription, I will use the community repository.
SSH into Proxmox: Open the apt sources list:
nano /etc/apt/sources.list
Add Community Repository: Add the following line:
# not for production use
deb http://download.proxmox.com/debian bookworm pve-no-subscription
Disable Enterprise Repository: Disable the enterprise source from the UI
Update Sources: Refresh and update the package lists.
With the base setup complete, my Proxmox environment is ready for further configuration and experimentation. Next steps will include setting up a local DNS for internal resolution and expanding the capabilities of my lab environment.
Stay tuned for more updates and tips on maximizing your Proxmox VE setup!